


SUMMARY
This article will guide a user through the process of installing the Microsoft Dynamics SL History SmartLists application extension within Business Central
DETAILS
From the Role Center screen in Business Central, within the company for which you intend to install the Microsoft Dynamics SL Intelligent Cloud application, go to the upper left section of the main toolbar and click on Setup & Extensions and then click on Extensions

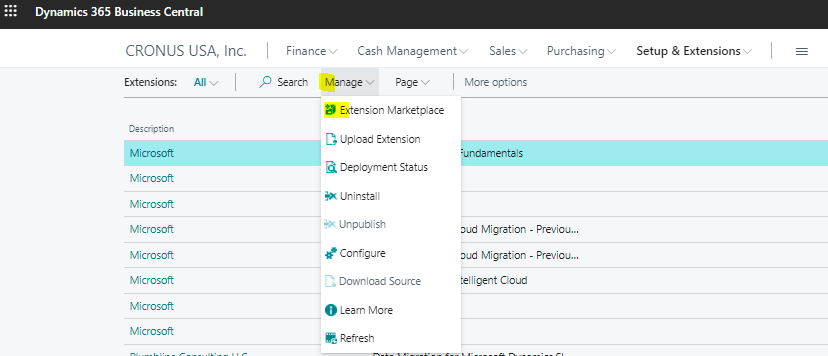
When the Extensions page pops up, click on Manage and then Extension Marketplace
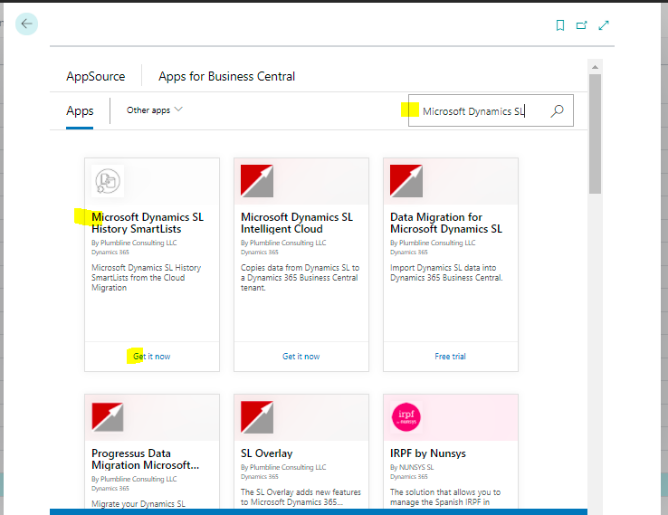
When The Extension Marketplace screen loads, type Microsoft Dyanamics SL History SmartLists into the search box and look for the application with that name. Then click on “Get It Now”
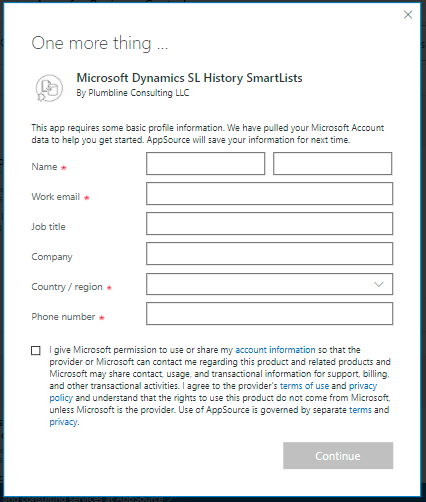
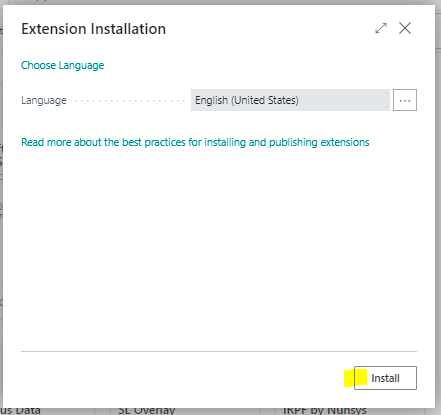
You will need to provide user information and agree to applicable terms in order to continue on with the installation. Once filling in the fields and agreeing, click on Continue and then click Install
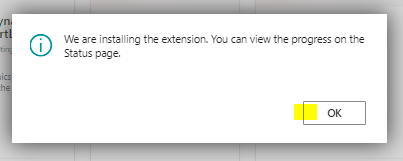
A screen pops up that informs you that the extension is installing and that you can view the progress on the Status page. Click OK
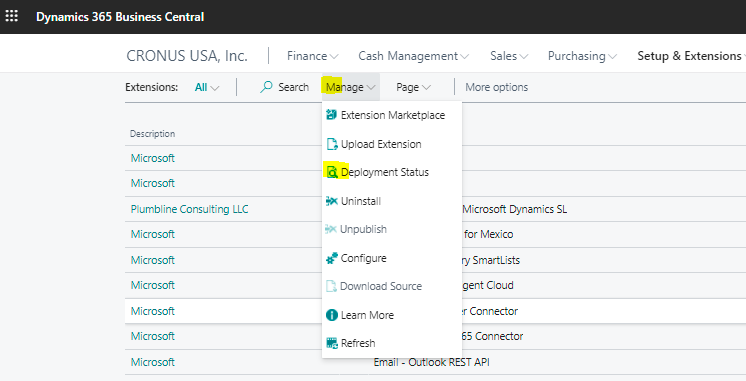
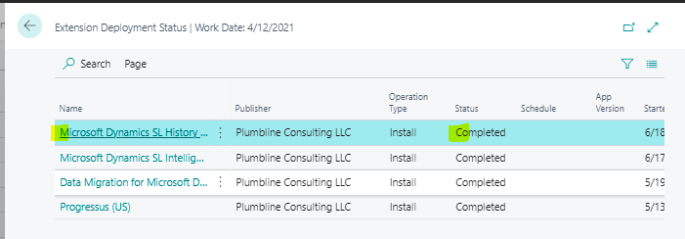
Return to the Extensions page and click on Manage and then Deployment Status to view the progress of the installation. Note when it says “Completed”
RESOLUTION
Congratulations! You have successfully installed the Microsoft Dynamics SL History SmartLists extension!
APPLIES TO Microsoft Dynamics Business Central v 18.1
This article will guide a user through the process of installing the Microsoft Dynamics SL History SmartLists application extension within Business Central
DETAILS
From the Role Center screen in Business Central, within the company for which you intend to install the Microsoft Dynamics SL Intelligent Cloud application, go to the upper left section of the main toolbar and click on Setup & Extensions and then click on Extensions
When the Extensions page pops up, click on Manage and then Extension Marketplace
When The Extension Marketplace screen loads, type Microsoft Dyanamics SL History SmartLists into the search box and look for the application with that name. Then click on “Get It Now”
You will need to provide user information and agree to applicable terms in order to continue on with the installation. Once filling in the fields and agreeing, click on Continue and then click Install
A screen pops up that informs you that the extension is installing and that you can view the progress on the Status page. Click OK
Return to the Extensions page and click on Manage and then Deployment Status to view the progress of the installation. Note when it says “Completed”
RESOLUTION
Congratulations! You have successfully installed the Microsoft Dynamics SL History SmartLists extension!
APPLIES TO Microsoft Dynamics Business Central v 18.1